Instructions
To run the Waitlist Report, follow the steps below.
- Open Restricted Administrative Applications (sign in with your WebCentral ID)
- Select DWWI – Data Warehouse Web Interface.
- Enter your Access-code, then click Submit.
- Make sure that the Data Source on the left is set to SALI (Student Analytical Learning Interface).
- Under Select Report, chose the Rosters option. Your selected options should look like this.

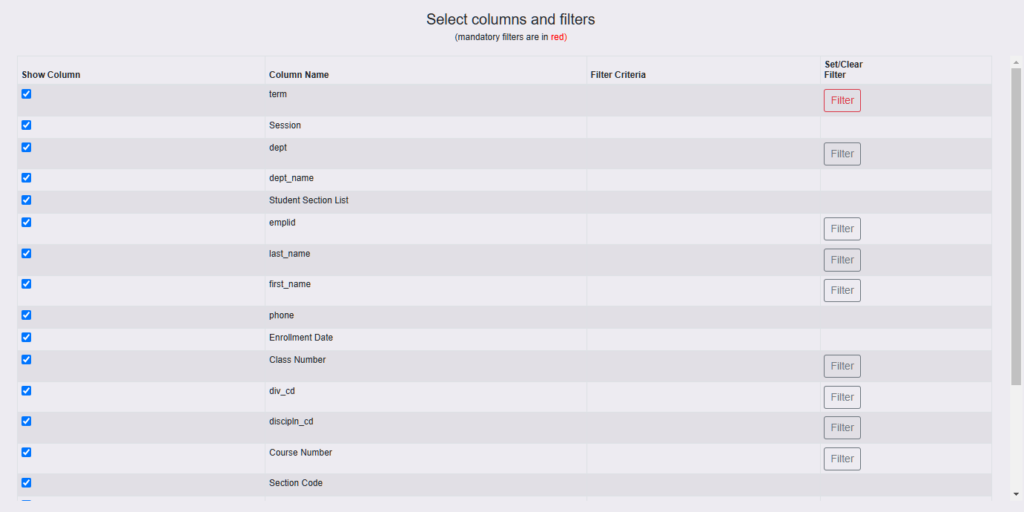
The report columns and filters will automatically load on the right side of the screen.

- To drill down on your department’s classes, you only need to set two filters: term and dept.
- To set the Term filter, press the respective Filter button under the Set/Clear Filter column on the right.

- Select the term you wish to pull data for. Then press the Set Filter button.

- Repeat this step for the dept filter.

Your selected filters will now appear in the Filter Criteria column. You may repeat this for any other filter, if desired.

In addition to setting more filters, you may de-select columns by unchecking them on the left-hand side, if desired. This will hide them from the report results.
- To view results, press the Preview in New Tab button on the bottom of the page.

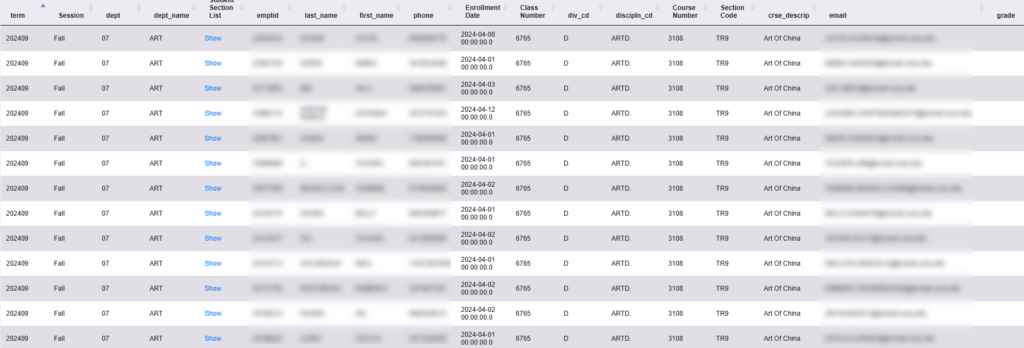
The results will load in a new tab on your browser. You will see a variety of information depending on the columns selected.

Click on the Export button to download this file to Excel.

How To Use This Data
Departments can use this data to determine if they would like to:
- Monitor enrollment into their scheduled classes
- Determine if they need to create new sections
- Give students permission to enroll via over tally into a closed section
- Help forecast how many sections may be required/needed in a future semester
Contact Us
For questions regarding the data output for the rosters report, please contact us at registrar@brooklyn.cuny.edu.
