Brooklyn College uses eCSP to compile scheduling data. Department chairs, or their designee, receive access and training on eCSP after they are appointed to their role.
Accessing eCSP
- Go to process.brooklyn.cuny.edu.
- Enter your login credentials.
- Click Login.
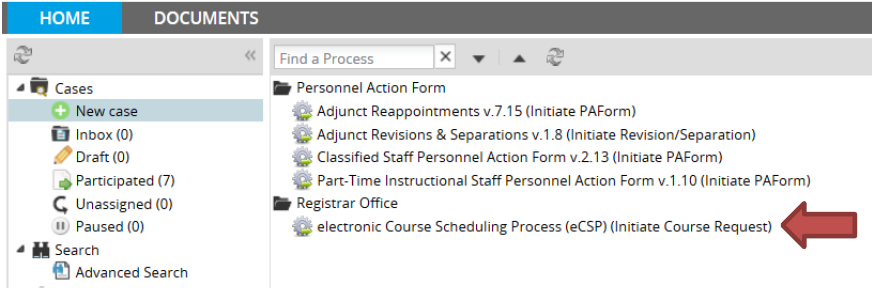
Initiate a Case
- Click on New Case. Then, double click on electronic Course Scheduling Process (eCSP).
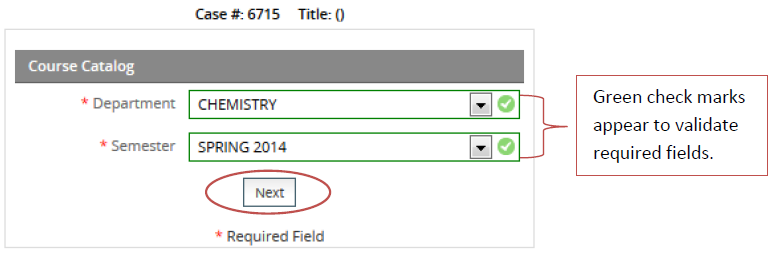
- Proceed to select your Department and Semester. Then click, Next.
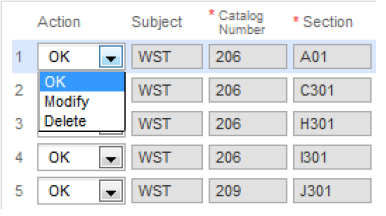
The list of courses rolled over from the previous Winter, Spring, or Fall term will appear.
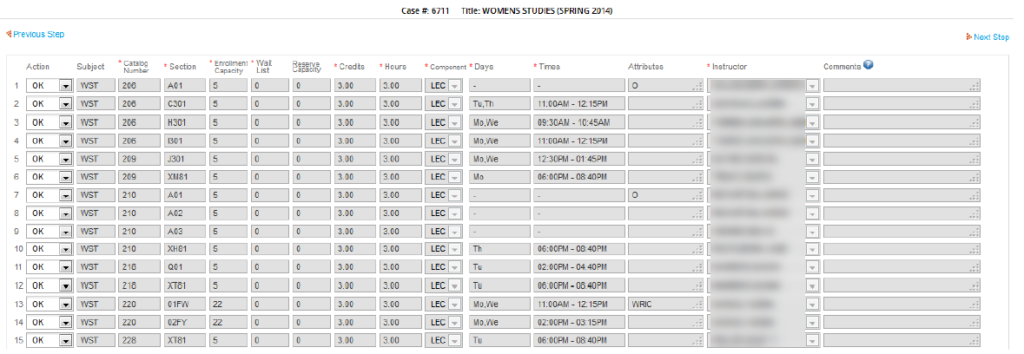
- Use the Action drop down list to keep the section as is (OK), modify, or delete sections.
Adding a Section
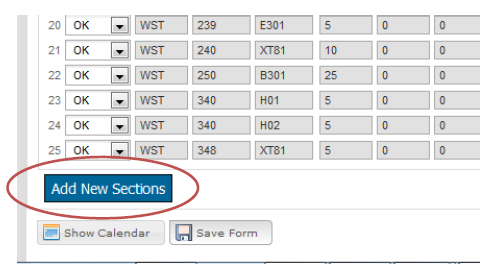
- To add a new section to the list, click on Add New Sections at the bottom of your sections.
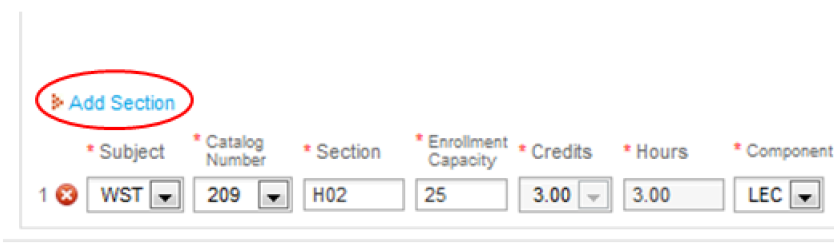
- Fill in all required fields that are marked with red asterisks. Required fields are:
- Subject
- Catalog Number
- Section
- Enrollment Capacity
- Credits
- Hours
- Component
- Days
- Times
- Instructor

- After you have filled in the required information, click Add Section.
If required fields are missing, you will not be able to proceed.

Modifying a Section
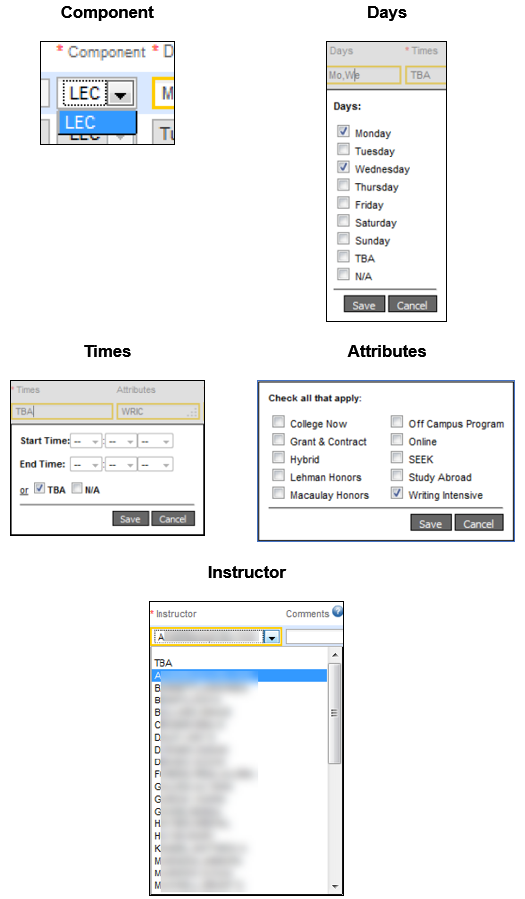
- If modifying a section, edit the appropriate columns.
- Component (e.g., LEC, LAB, REC)
- Days (check off the appropriate days and then click Save)
- Time (indicate the appropriate start/end time or select TBA or N/A and then click Save)
- Attributes (check off attributes, as required, then click Save)
- Instructor Names (select the instructor name(s) and or TBD and then click Save)
- Hovering over the Modify drop down list will show you the previous information before modifications were made.

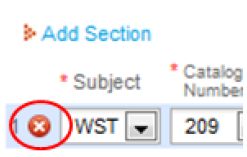
Deleting a Section
- To delete a section, click on the red X button to the left of the section.
Save Changes
After you have made the necessary changes to your schedule, you must click Save Form at the bottom of the page.

You will receive a confirmation message indicating that your changes have been successfully saved.

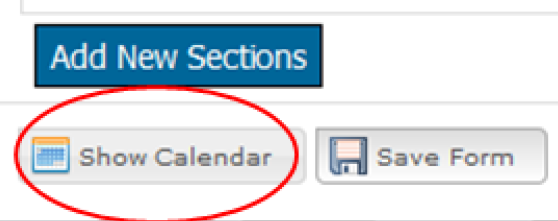
Viewing Your Schedule
Show Calendar
After you’ve entered section information, click on the Show Calendar button to view your schedule in calendar form.
Export Your Schedule
After you’ve saved your schedule, you will be able to export it as a PDF or Excel file.

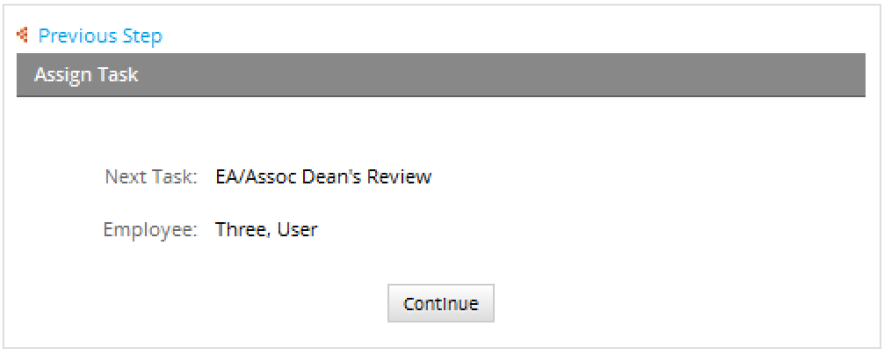
Assign Task
After you have made your schedule changes, you must Assign Tak to the next user (School). Click Continue to proceed.