Creating and using a digital signature is a great way to save time, printer ink, and paper. If you find yourself printing documents just to sign and scan them, try one of the options below:
Using Microsoft Word drawing tools
Microsoft Word (2019 or higher) has a simple drawing tool that can be used to add a digital signature to a Word document or copy the signature to an Excel file.
- Open a Word document or create a blank document
- Select Draw from the main menu
- Select the pen tool labeled Draw to enter Draw mode
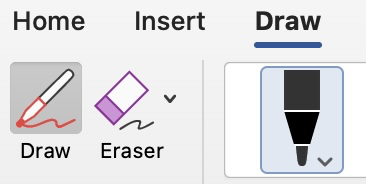
- Use a mouse, touchpad, or stylus to draw your signature
- Click the pen icon again to exit Draw mode
- Resize, move, or duplicate your signature
To add your signature to Excel:
- Select and Copy (Ctrl + C) the signature image in Word
- Open Excel
- Paste (Ctrl + V) the signature image in the Excel file.
Using Microsoft Edge Browser
Microsoft Edge is a free browser from Microsoft with built-in PDF editing tools. If the Edge web browser is not already installed on your computer, you can safely install it alongside other browsers like Chrome, Firefox, and Safari. Edge runs on both Windows and Mac.
Once Edge is installed, follow these steps to sign a PDF file (works on both Windows and Mac):
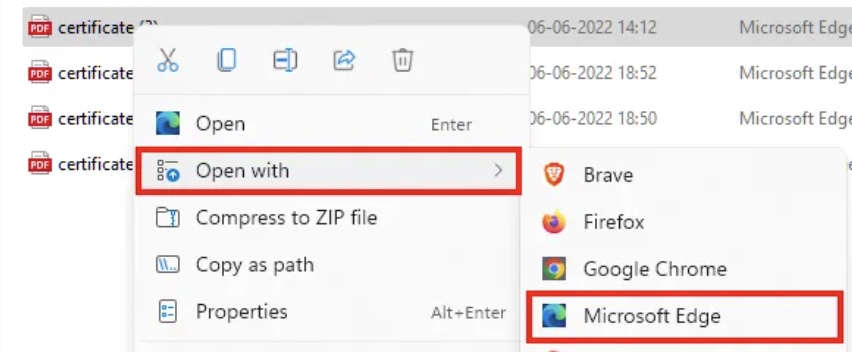
- Right-click the PDF file you want to sign and select Open with > Microsoft Edge
- Select the Pen tool
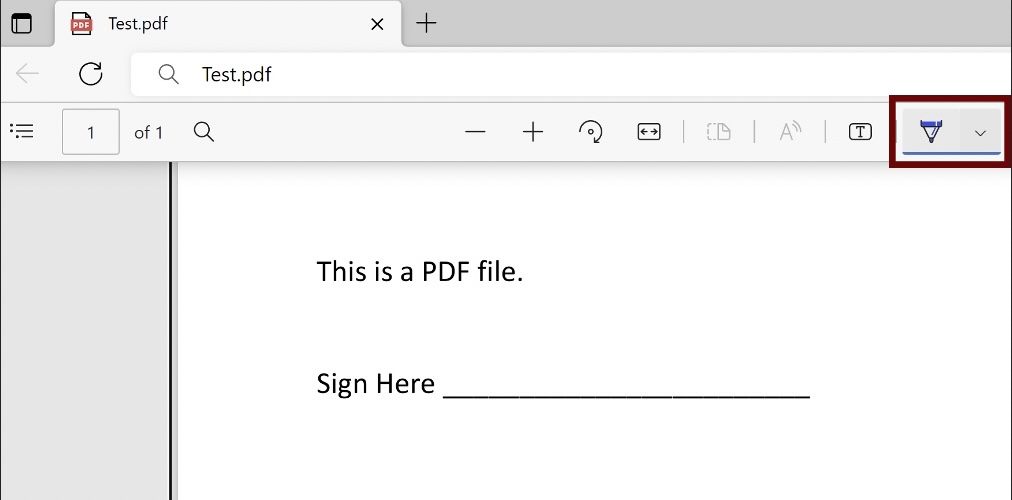
- Use a mouse, touchpad, or stylus to draw your signature where required.
- Select File > Save to save the PDF file.
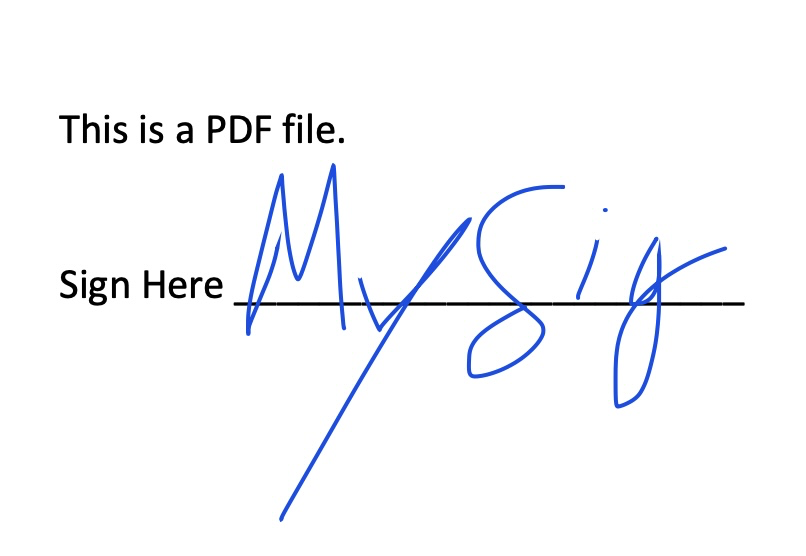
Using Mac Preview
- From Finder, double-click the PDF file you want to sign.
- Select the Pen tool (1) and the desired pen thickness (2)
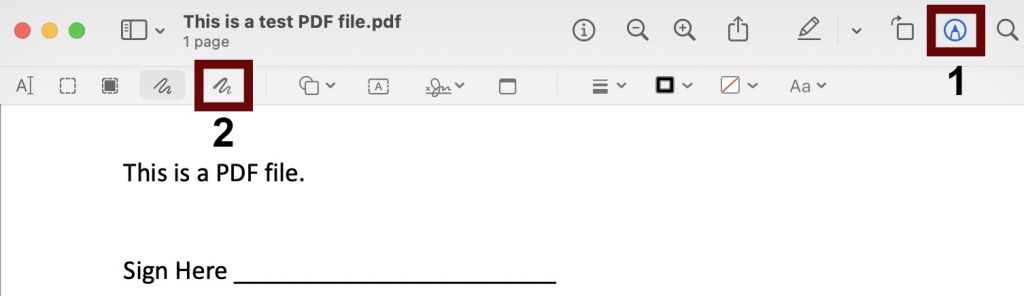
- Use a mouse, touchpad, or stylus to draw your signature where required
- Select File > Save to save the PDF file.
Taking a photo of your signature
This option inserts a photo of your signature into a Word or Excel file.
- Use your smartphone to take a photo of your signature (using white paper is ideal).
- Use the Photos app on your phone (e.g. Google Photos, Apple Photos) to crop the photo so only your signature is displayed.
- Get a copy of the signature photo on your computer by either downloading the photo from your photo app website (Apple Photos, Google Photos) or by sharing the photo with yourself by email.
- Open the Word or Excel file with your timesheet.
- Insert your signature photo
- Word: Insert > Pictures > Picture from File
- Excel: Insert > Illustrations > Picture from File
- Select your signature photo
- Scale your signature down to the desired size
- Duplicate (copy and paste) your signature photo as needed
Using Adobe Acrobat Online
- Go to sign.new in your web browser
- Select the PDF file you want to sign
- Sign in with your Adobe account
- Select the signature tool
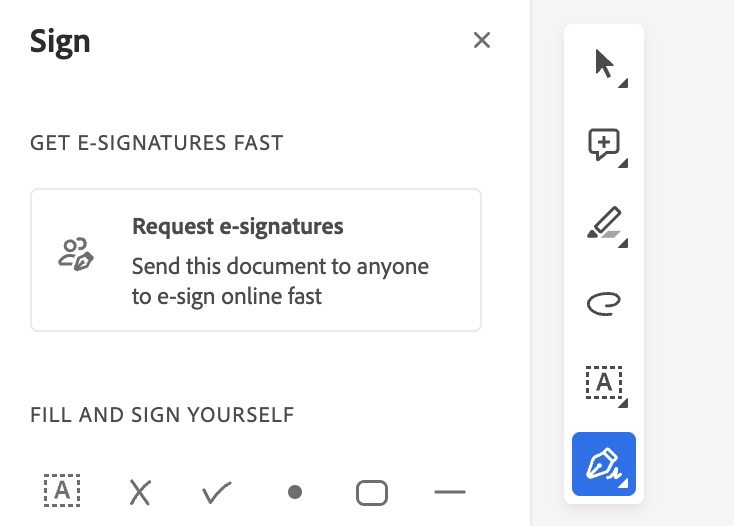
- Add or use an existing saved signature
- Download the PDF file
Using Adobe Acrobat on your desktop
See Sign a PDF (by Adobe)